The filament tray drive shaft assembly in your Creality Filament System (CFS) is responsible for rotating the spool to feed and retract filament during multi-color prints. If you encounter grinding noises, filament not advancing, or visible wear on the drive rollers, the drive shaft assembly may need replacement. This guide provides step-by-step instructions for safely disassembling the CFS unit, accessing the drive mechanism, and installing a new genuine Creality drive shaft assembly.
TABLE OF CONTENTS
Spare Part:
Replacement Front Tray Drive Shaft
Replacement Rear Tray Drive Shaft
Written Guide:
Tool: A Flat Plastic Flat Edge Praying Tool (Printed Option:
Front Bearing:
1. Remove any load filament.
2. Use flat edge to apply leverage to press fit bearings holding down the front bearing rollers.
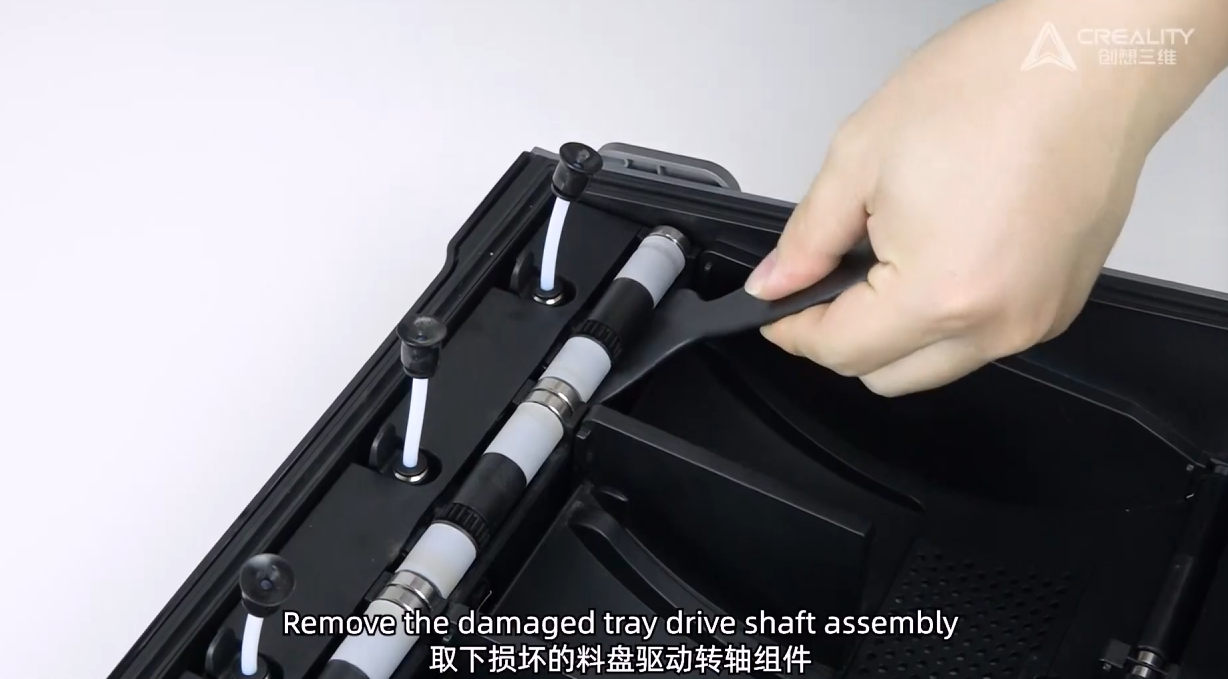
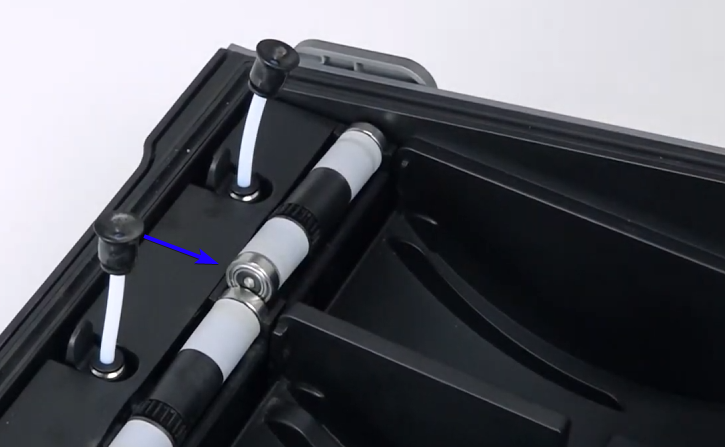
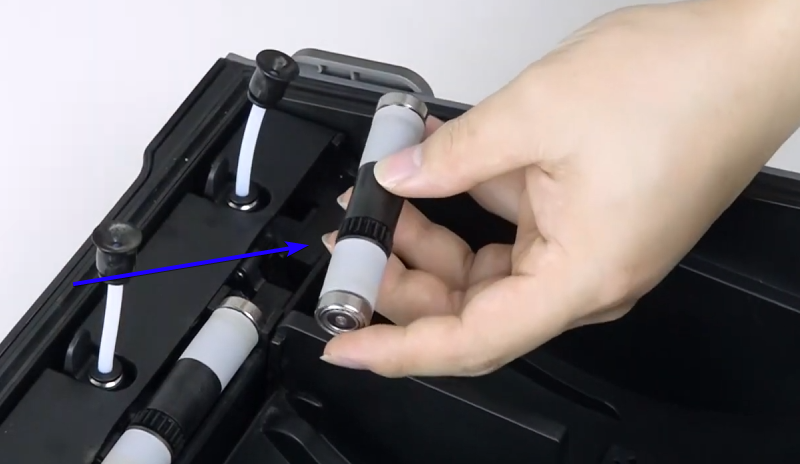
3. Remove the front bearing assembly
In most case, replacement bearing assembly comes pre-assembled, if you need more details assembly, please check below video starting a 0:31.
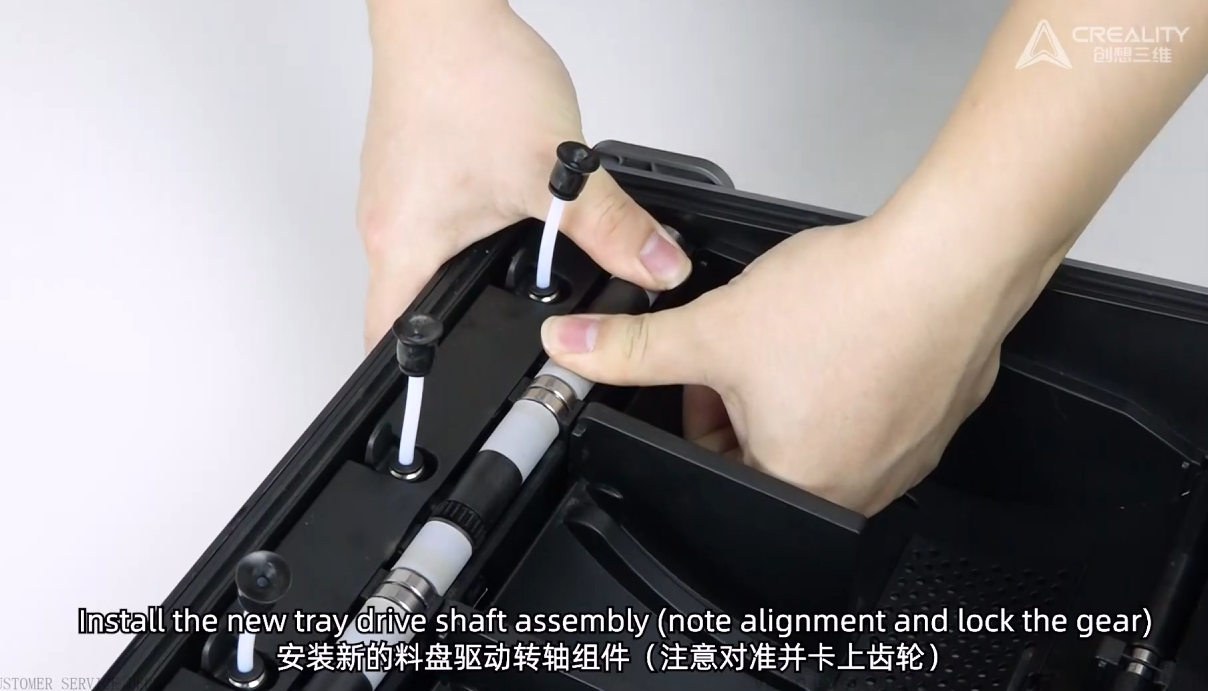
4. Reinstall new front bearing assembly
Please take note of alignment of the bearing assembly.
5. Press Firmly down to secure the bearing assembly into plastic part.
Rear Bearing Assembly:
1. Remove any load filament.
2. Use flat edge to apply leverage to press fit bearings holding down the front bearing rollers.
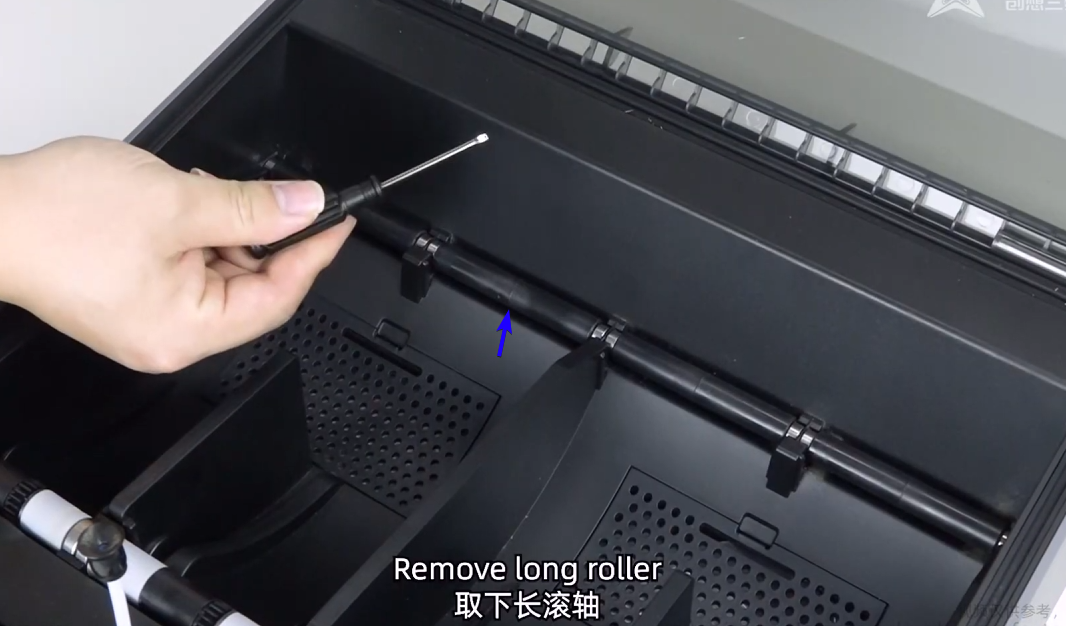
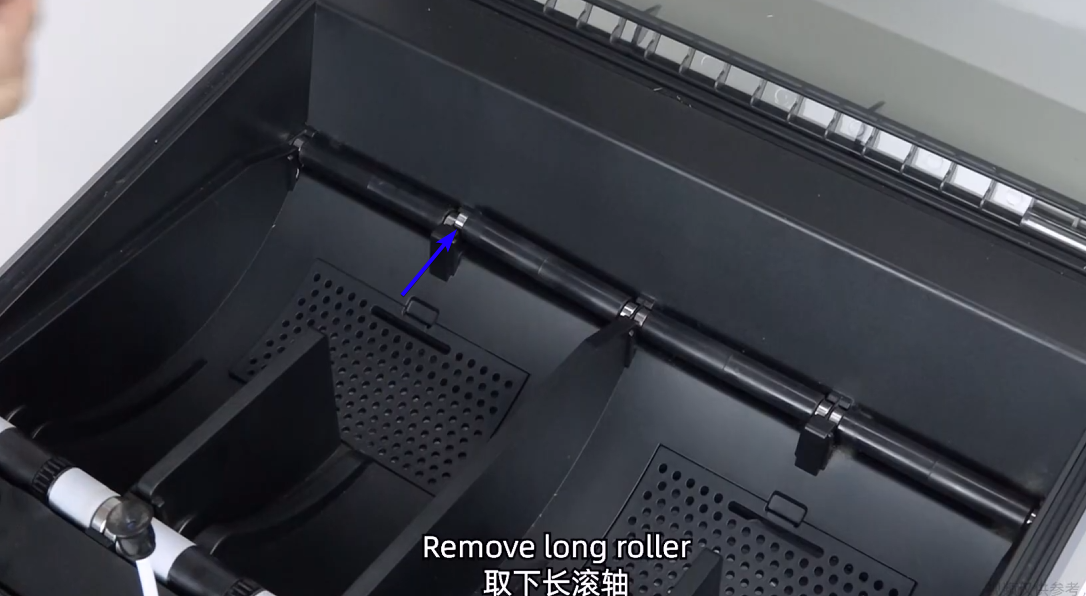
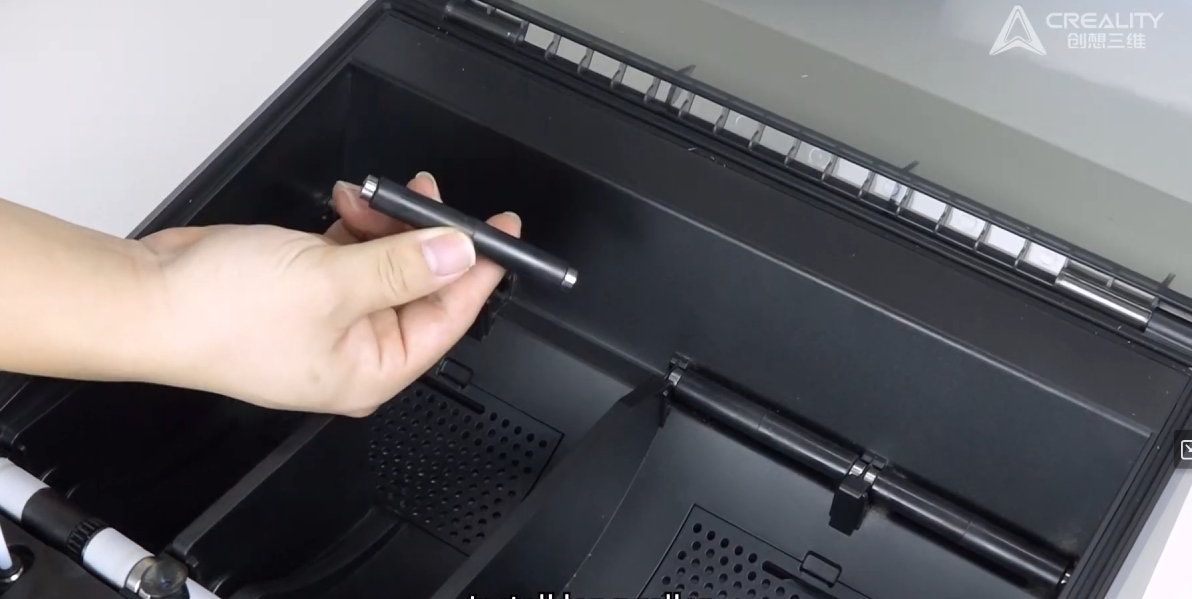
3. Reinstall new front bearing assembly
Replacement Video:
Was this article helpful?
That’s Great!
Thank you for your feedback
Sorry! We couldn't be helpful
Thank you for your feedback
Feedback sent
We appreciate your effort and will try to fix the article